Lists
Can I be honest? I'm not an expert candy maker. Anything to do with making chocolate-dipped things look pretty is really not my forte. Taste good, sure. Look good? I'll work on it. If I care enough. And do I? Do I really?
Probably not.
But, let me tell you a not-so-secret secret, I like to try to come up with thoughtful gifts for people, whether for Christmas or birthday or just something I see that reminds me of someone at a random time. I know, cheeseball for sure. But it comes from receiving a buttload of gift cards to places I never went to back in the day, and so now it is my mission in life never to give gift cards if I can help it.
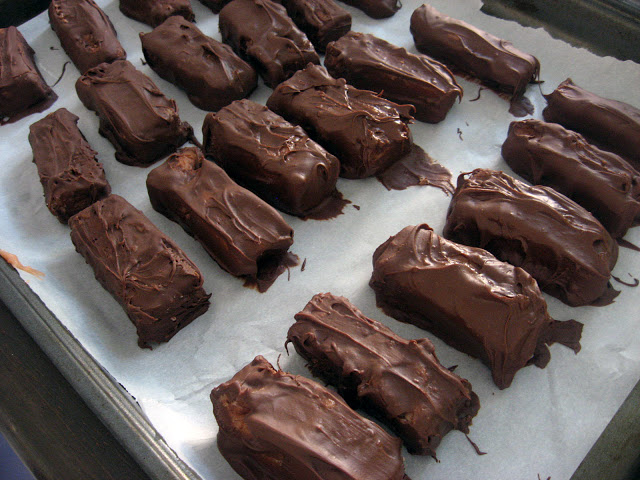
These I made for my stepdad for his birthday, because butterfingers are his fave, and I wanted to do something more than just buy some butterfingers. Now, these don't taste exactly the same, moreso in texture than in taste, but it's the same idea.
You may see recipes for these elsewhere on the internet that tell you to just use candy corn for the middle candy part, and sure, you can do that, or you can be crazy like me and make the middle part from scratch too.
Ingredients
In photos:
- Peanut Butter Cookies With Reese's Chips
The other day, I was at the grocery store in the baking aisle, one of my usual haunts, and saw the Reese's Peanut Butter Chips. For all my love of Reese's, do you know, I'd never actually tried their peanut butter chips? So I bought them,...
- Homemade Fudge
Confession time... I tried to make homemade fudge once before, and failed. It was a big pile of goop that did not set up. You had to eat it with a spoon. True, it still tasted good, but you can't just bring a container of chocolate goop to a party...
- Chocolate Chip Easter Egg Cookies
I am not a religious person, but one thing that I love about this Easter time of year is the glut of candy about. In particular, my very favorite kind of candy - Reese's Peanut Butter Eggs. Seriously, they are SO much better than regular peanut butter...
- Chocolate Sheet Cake
I had seen this cake over at The Pioneer Woman awhile ago and always wanted to try it, but I never had buttermilk, or regular milk, for that matter. Finally I decided to buy some powdered buttermilk to have around for just such occasions as recipes randomly...
- Peanut Butter Middles
I saw these cookies over on the Tasty Kitchen Blog and thought they looked right up my alley. Peanut butter? Chocolate? Peanut butter in the middle of chocolate? Please and thanks. They were a big hit and fairly easy to make, though I will go into...
Lists
Homemade Butterfingers
Can I be honest? I'm not an expert candy maker. Anything to do with making chocolate-dipped things look pretty is really not my forte. Taste good, sure. Look good? I'll work on it. If I care enough. And do I? Do I really?
Probably not.
But, let me tell you a not-so-secret secret, I like to try to come up with thoughtful gifts for people, whether for Christmas or birthday or just something I see that reminds me of someone at a random time. I know, cheeseball for sure. But it comes from receiving a buttload of gift cards to places I never went to back in the day, and so now it is my mission in life never to give gift cards if I can help it.
These I made for my stepdad for his birthday, because butterfingers are his fave, and I wanted to do something more than just buy some butterfingers. Now, these don't taste exactly the same, moreso in texture than in taste, but it's the same idea.
You may see recipes for these elsewhere on the internet that tell you to just use candy corn for the middle candy part, and sure, you can do that, or you can be crazy like me and make the middle part from scratch too.
Homemade Butterfingers
Ingredients
- 1 cup granulated sugar
- 2/3 cup light brown sugar
- 1/3 cup salted butter
- 2 1/2 cups sifted powdered sugar
- 1/3 cup powdered milk
- 1 teaspoon vanilla extract
- 1 1/2 cups creamy peanut butter
- orange food coloring
- 24 ounces milk chocolate
- In a medium bowl, sift together the powdered sugar and powdered milk. Set aside.
- In a medium saucepan, combine the granulated sugar, corn syrup and butter. Bring to a boil on high heat, stirring constantly, you don't want it to start sticking. Once it starts to boil, reduce the heat to medium and continue stirring for about 5 minutes, stirring occasionally. Stir in the vanilla and remove from heat.
- Add the sugar/powdered milk combo and stir well until incorporated and smooth. Add in the peanut butter and stir until smooth. Add in orange food coloring (entirely optional) until you get it to the orange color desired.
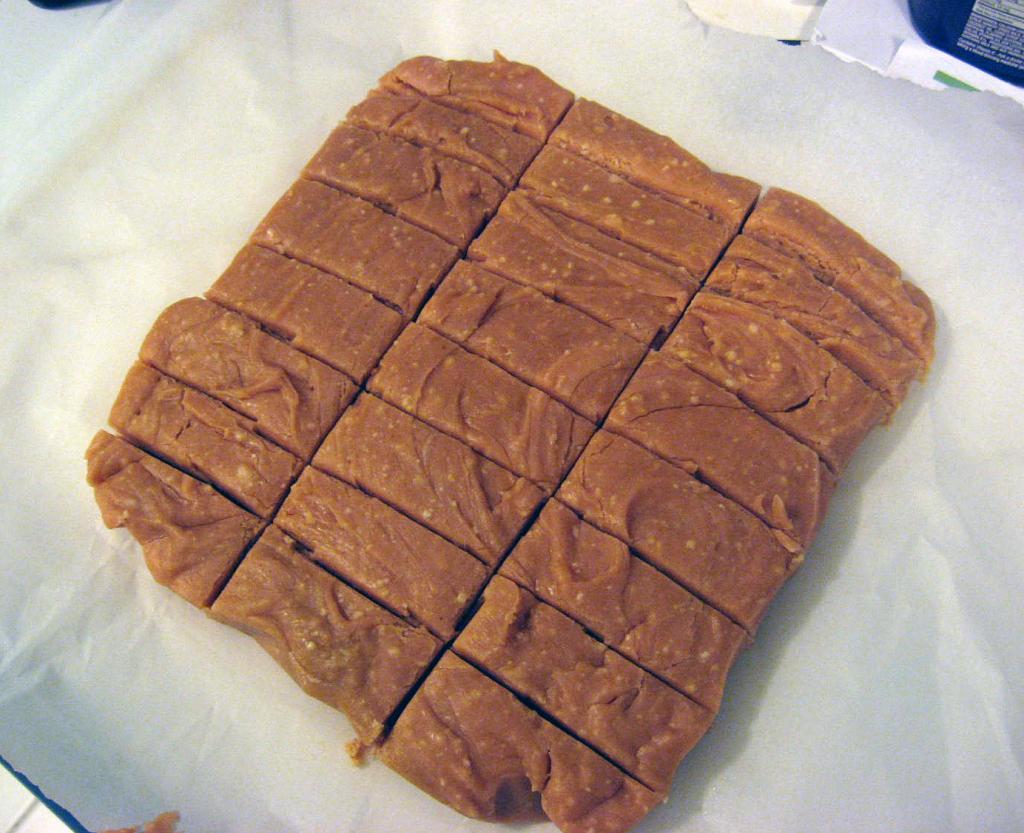
- Pour into a parchment-lined 8x8 pan and let cool completely, about an hour and a half. Remove from the pan and cut into 2x1 inch pieces using a sharp knife.
- In a medium bowl, melt the chocolate in the microwave for 1 minute (or you can do this in a saucepan if you're into that), then stir. Continue in 30 second intervals, stirring in between each, until the chocolate is smooth and creamy.
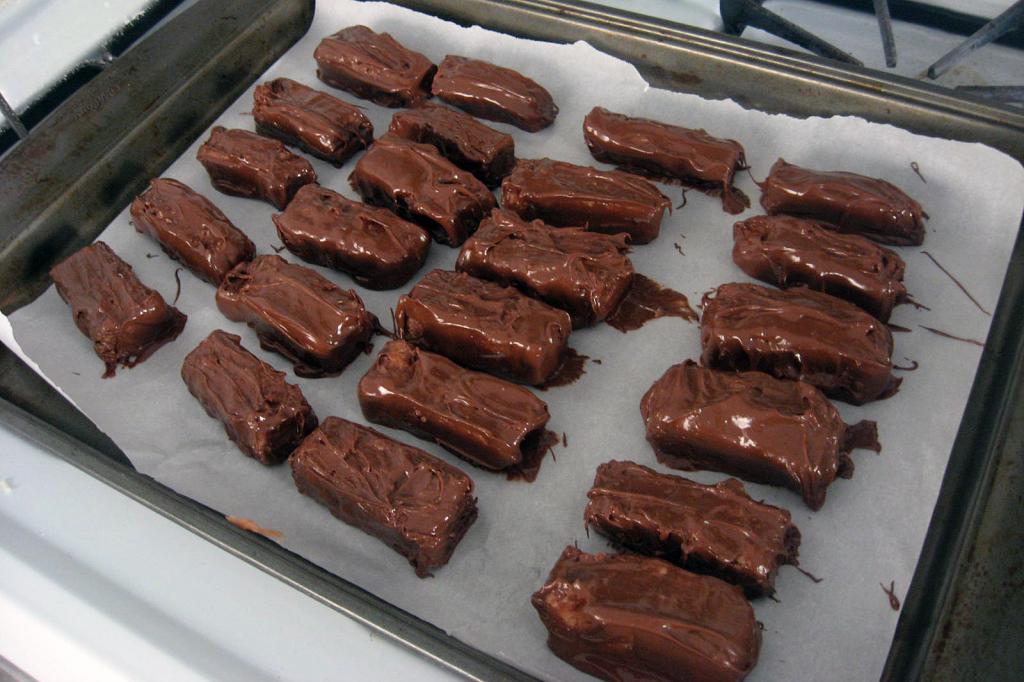
- Dip your candy pieces in the chocolate. You can stab them from the bottom with a fork or maybe corn-on-the-cob skewers, or maybe try a sturdy toothpick. Coat completely, then set on a wax-paper-lined baking sheet and allow to cool completely. Once you have them all done, you can stick that in the fridge for about 30 minutes to set.
- Store in a sealed container in the fridge or at room temp. It's candy, after all.
In photos:

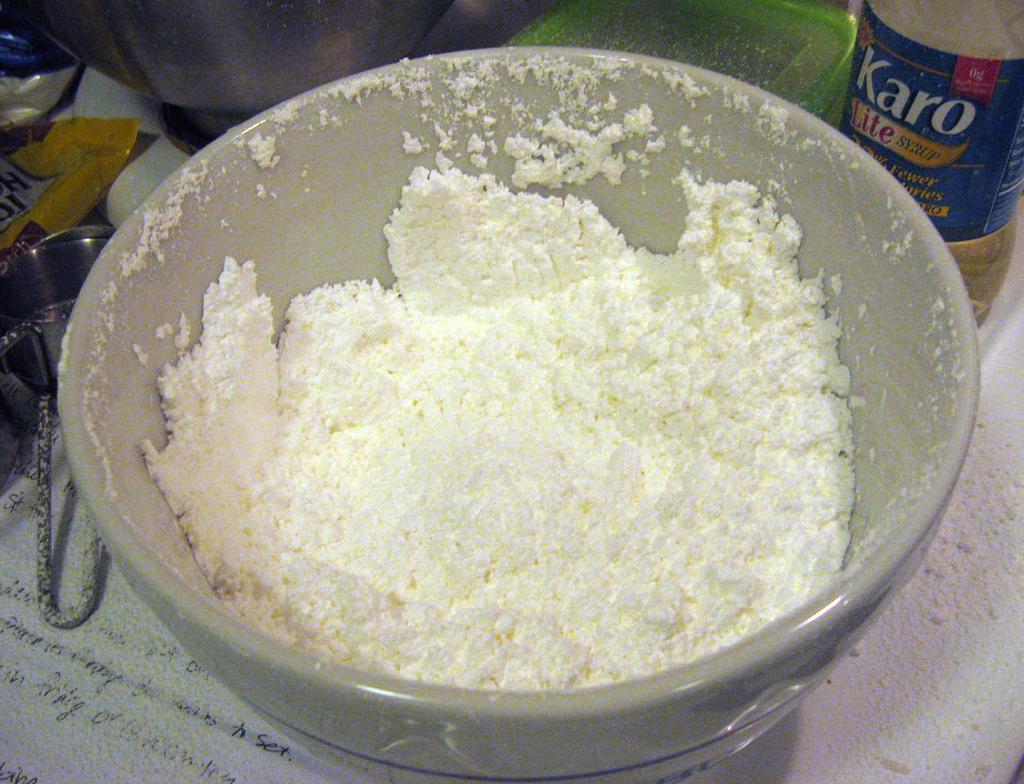
Powdered sugar and powdered milk together. Sifting together is a better option than sifting the powdered sugar and then adding in the milk, because that sort of defeated the purpose of sifting in the first place. Just my two cents.

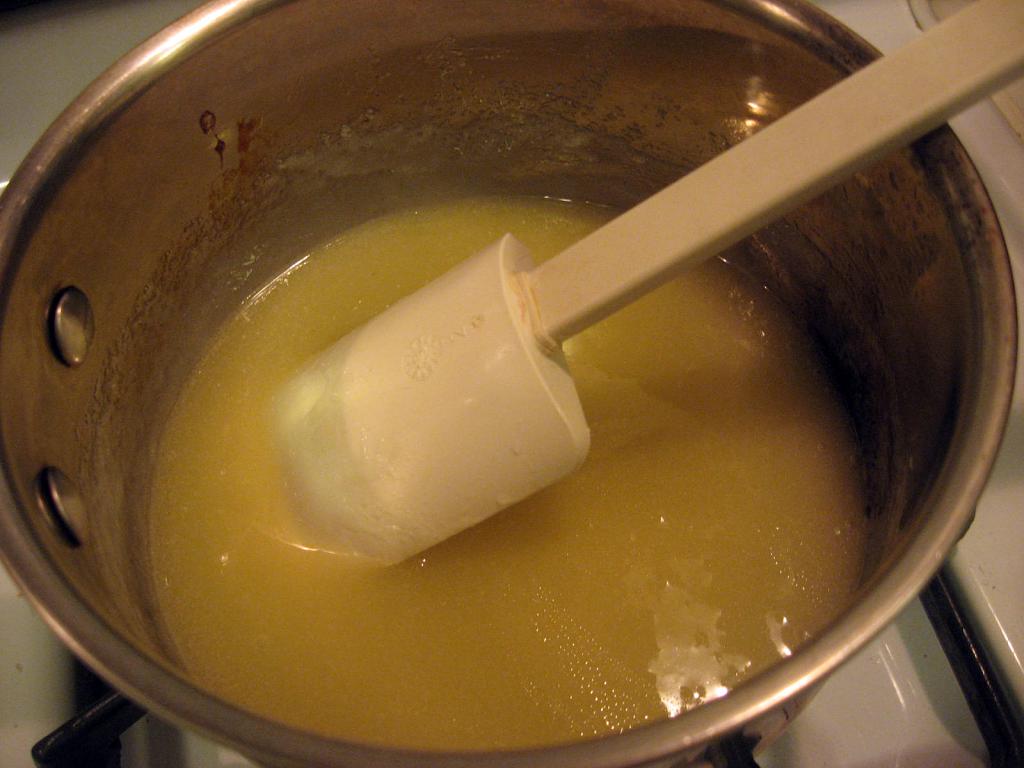
Combine granulated sugar, butter and corn syrup and bring to a boil on high heat.

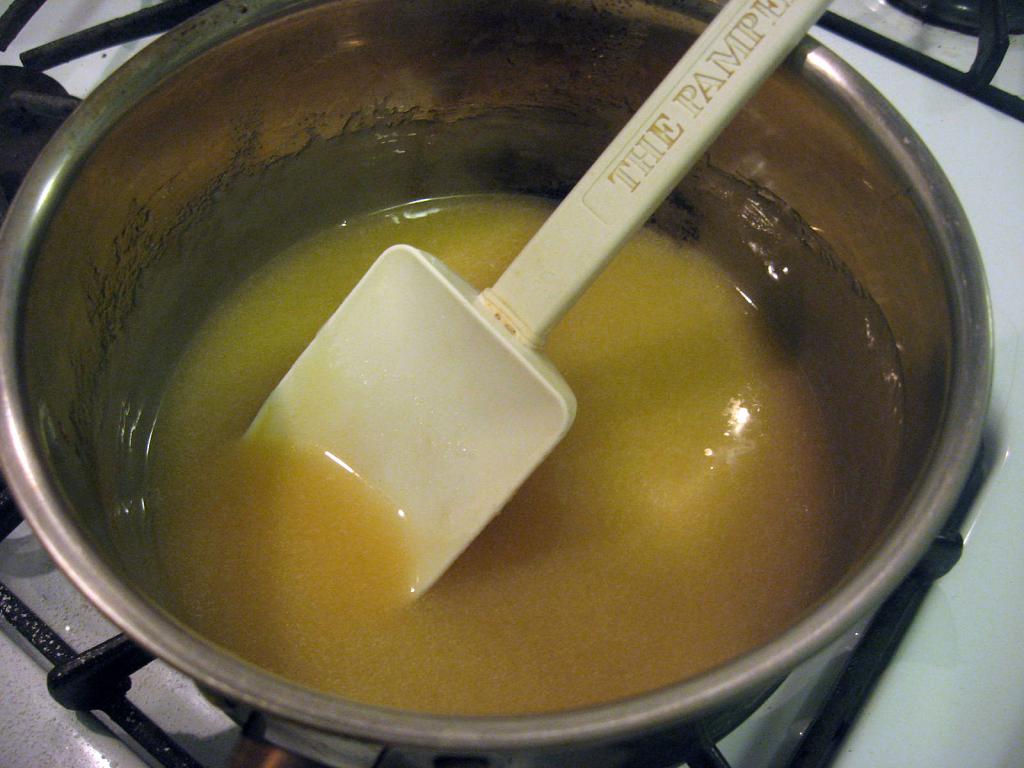
Once it starts to boil, take it down to medium and stir occasionally for 5 minutes, then add in your vanilla.

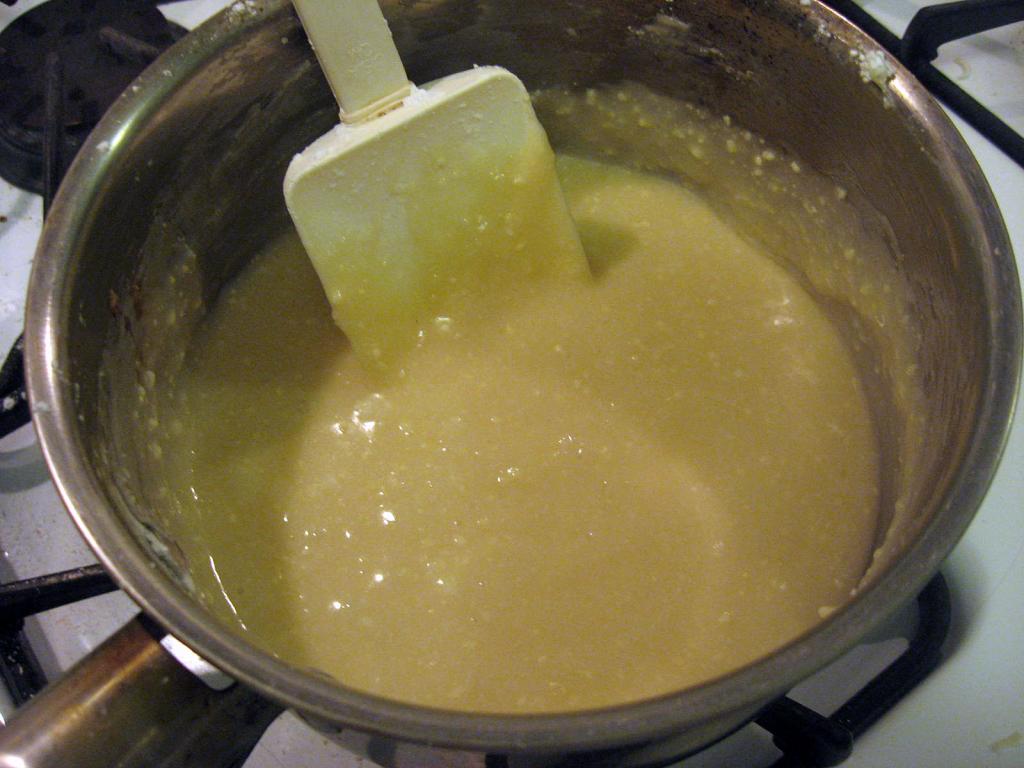
Next, add in your powdered sugar mixture. If you had properly sifted, yours would not have those little white balls. Live and learn.

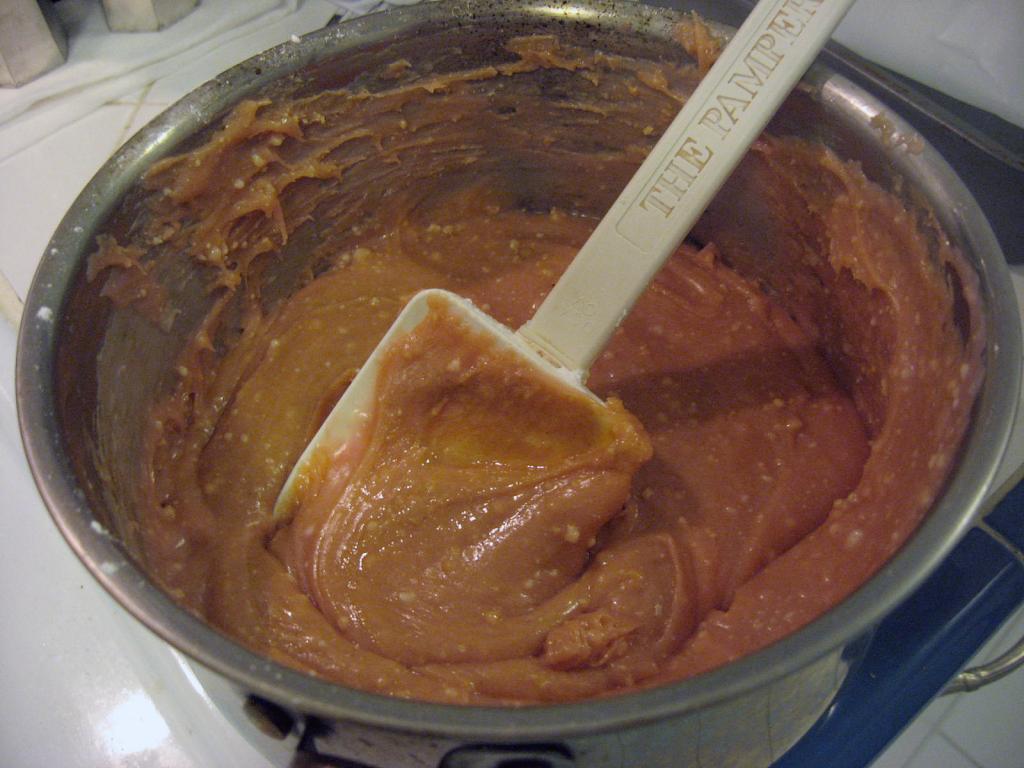
Add in your peanut butter and your food coloring. I only had red food coloring, so mine doesn't look super orange like a butterfinger actually would. Whatevs!

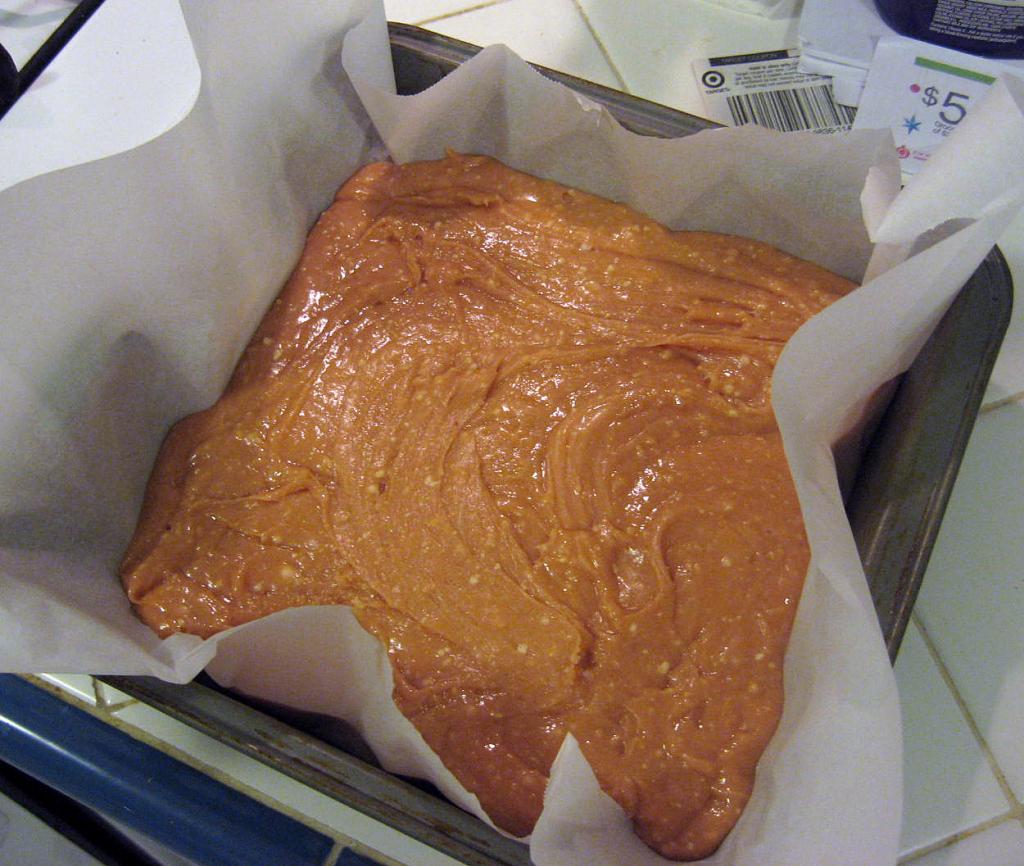
Pour that into your parchment-lined pan and let it cool for at least an hour and a half.

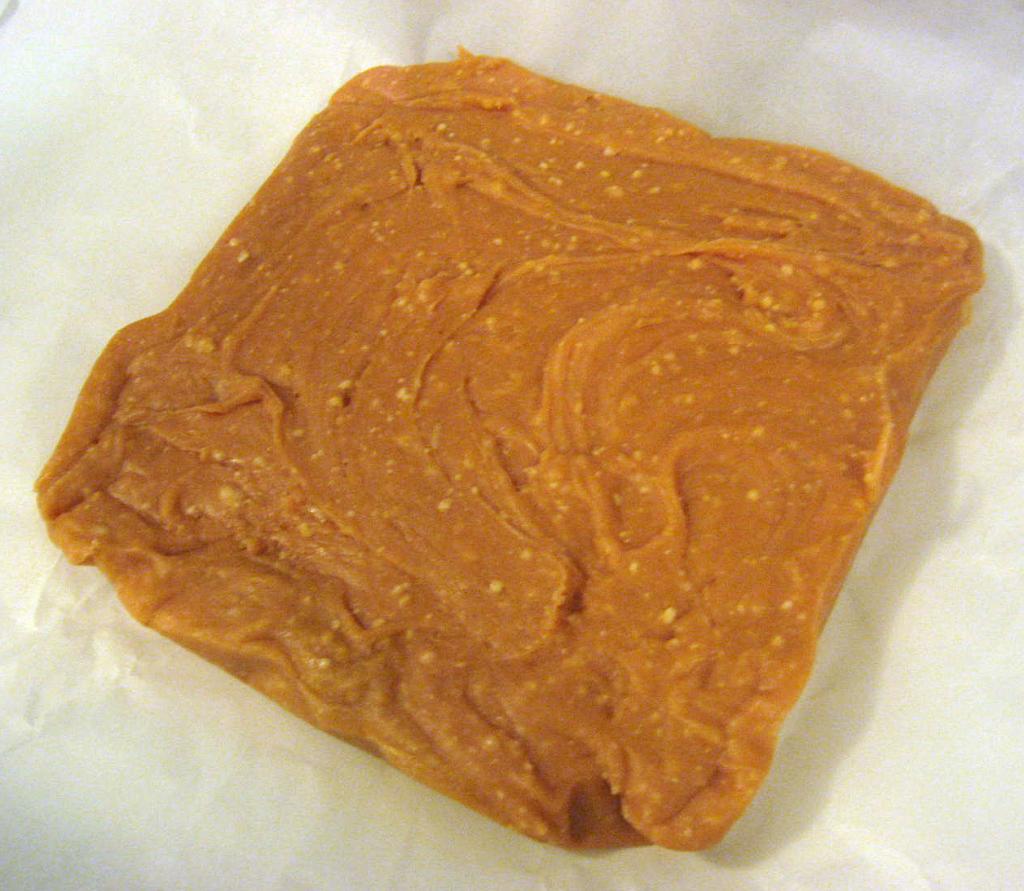
Once it has cooled, it will be one big bar of sugary, peanut buttery goodness.

Cut that up into 2x1 pieces. You can make them exactly square if you're a perfectionist, which I am not when it comes to this sort of thing.

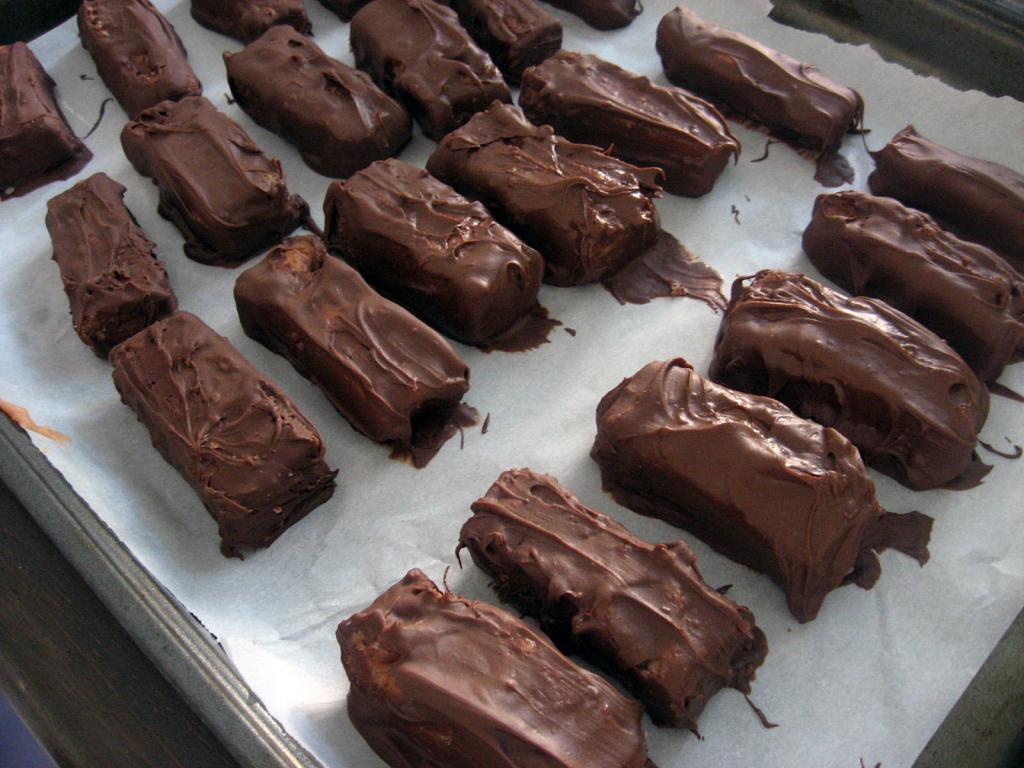
Melt up your chocolate and get to dipping those babies. Line them up on a wax-paper covered baking sheet (enables easy removal later).

After they've cooled, you've got yourself some slightly messy, homemade butterfingers! They're not as crispy crunchy as store-bought real butterfingers; they're much softer in the center, but I am assured the taste is similar (personally, I'm not a butterfinger fan! I know!).
- Peanut Butter Cookies With Reese's Chips
The other day, I was at the grocery store in the baking aisle, one of my usual haunts, and saw the Reese's Peanut Butter Chips. For all my love of Reese's, do you know, I'd never actually tried their peanut butter chips? So I bought them,...
- Homemade Fudge
Confession time... I tried to make homemade fudge once before, and failed. It was a big pile of goop that did not set up. You had to eat it with a spoon. True, it still tasted good, but you can't just bring a container of chocolate goop to a party...
- Chocolate Chip Easter Egg Cookies
I am not a religious person, but one thing that I love about this Easter time of year is the glut of candy about. In particular, my very favorite kind of candy - Reese's Peanut Butter Eggs. Seriously, they are SO much better than regular peanut butter...
- Chocolate Sheet Cake
I had seen this cake over at The Pioneer Woman awhile ago and always wanted to try it, but I never had buttermilk, or regular milk, for that matter. Finally I decided to buy some powdered buttermilk to have around for just such occasions as recipes randomly...
- Peanut Butter Middles
I saw these cookies over on the Tasty Kitchen Blog and thought they looked right up my alley. Peanut butter? Chocolate? Peanut butter in the middle of chocolate? Please and thanks. They were a big hit and fairly easy to make, though I will go into...
